Have you ever imagined presenting your interior design ideas with stunning realism? Well, you’re in the right place! Learning how to create a 3D interior rendering can elevate your design presentations, making them more engaging, immersive, and persuasive. Whether you’re an architect, an interior designer, a home developer, or a real estate professional, mastering 3D rendering is a game-changer.
Creating a 3D interior rendering requires both technical knowledge and artistic skills. It involves multiple stages, from planning and modeling to adding lighting, textures, and post-processing.
In this guide, we will walk you through every essential step to create a photorealistic interior rendering. From setting up your scene to post-processing, we’ve got you covered. Plus, if you want to skip the learning curve and get professional-grade results instantly, Xpress Rendering is here to help!
What is a 3D Interior Rendering?
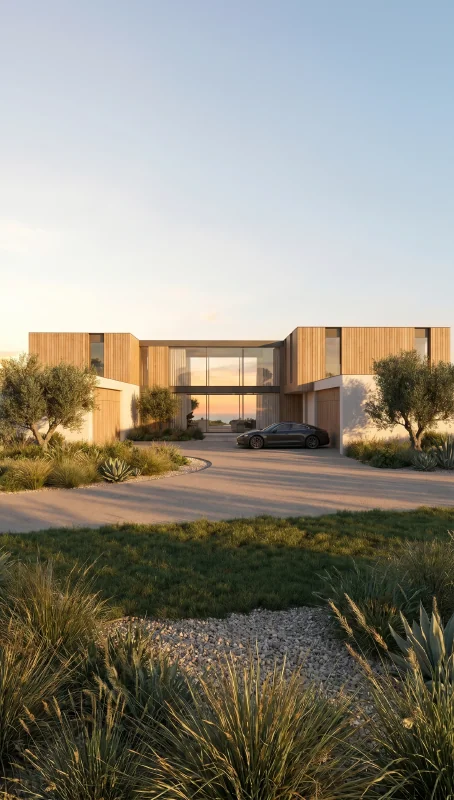
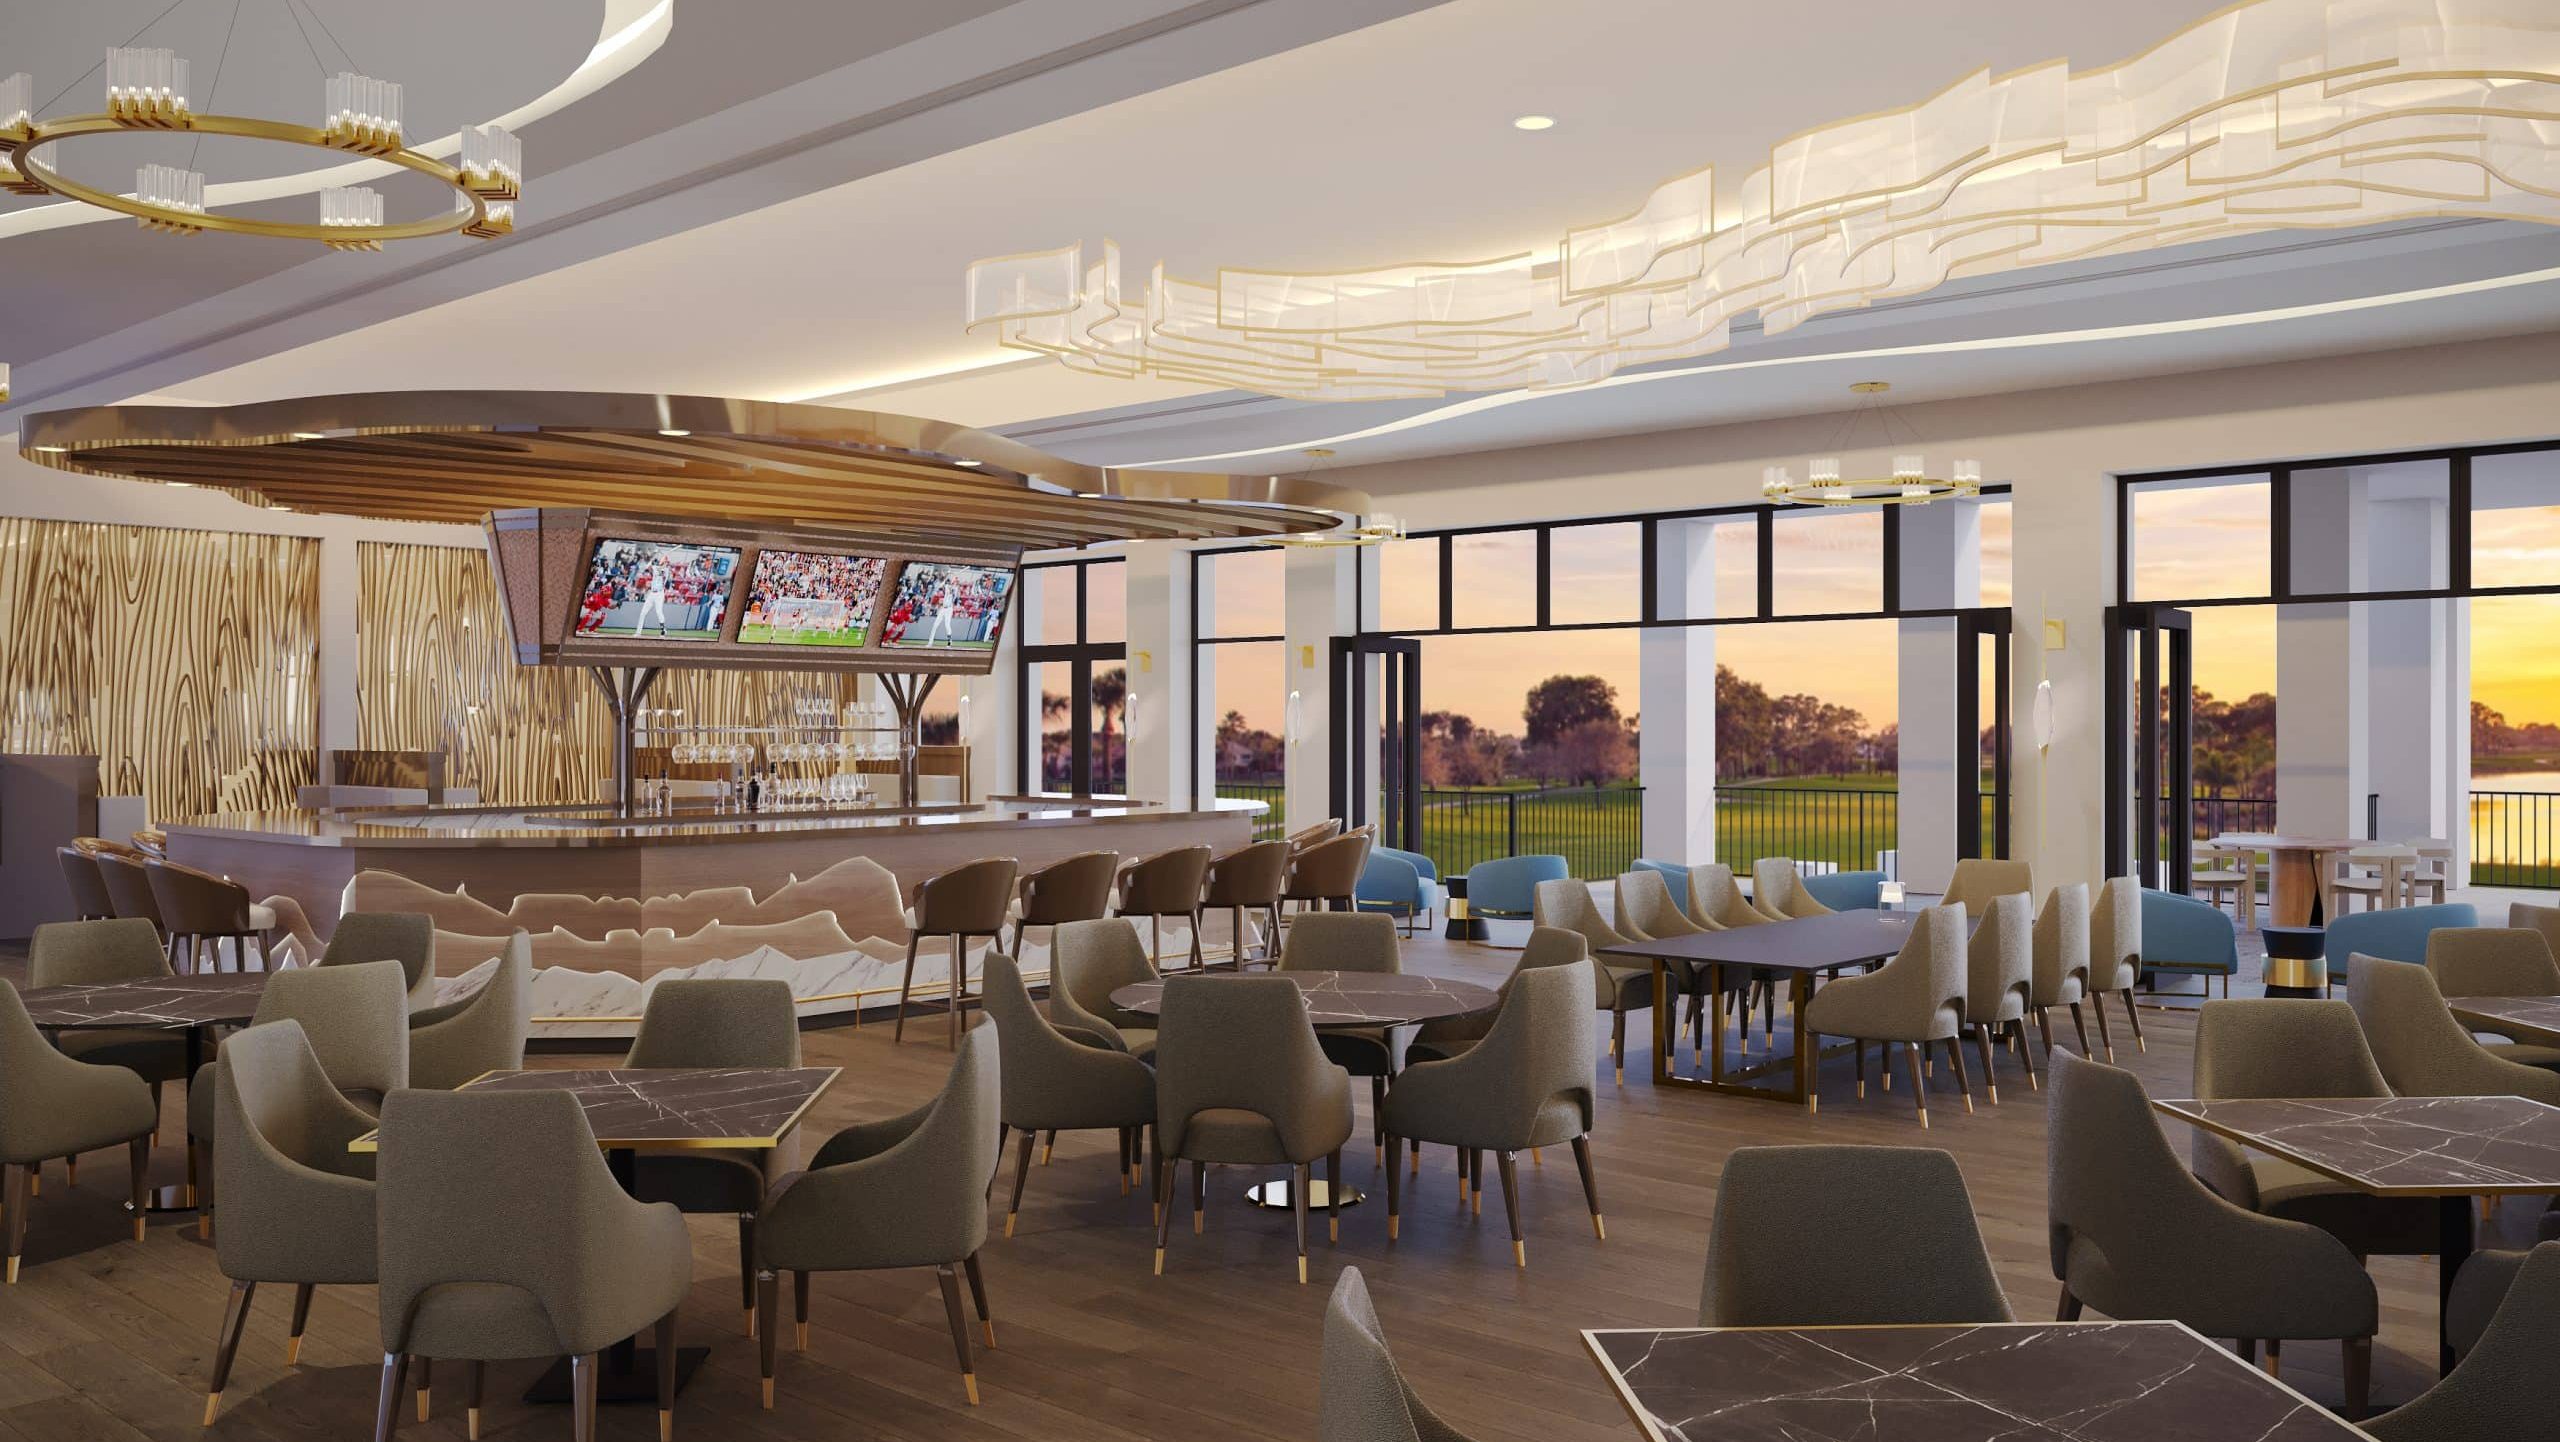
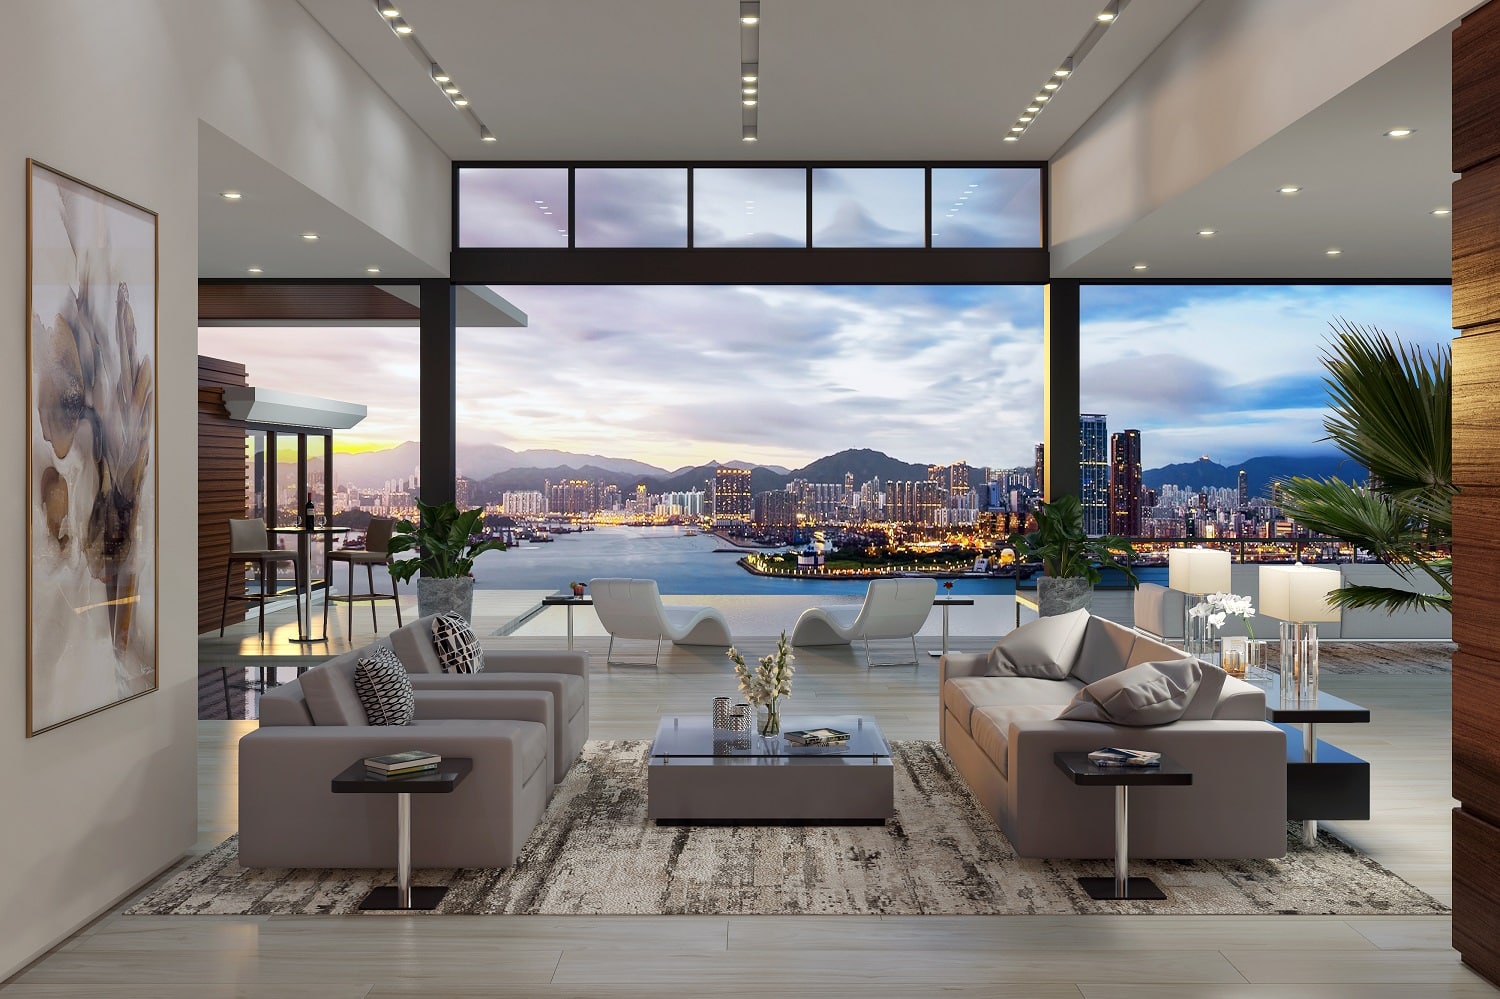
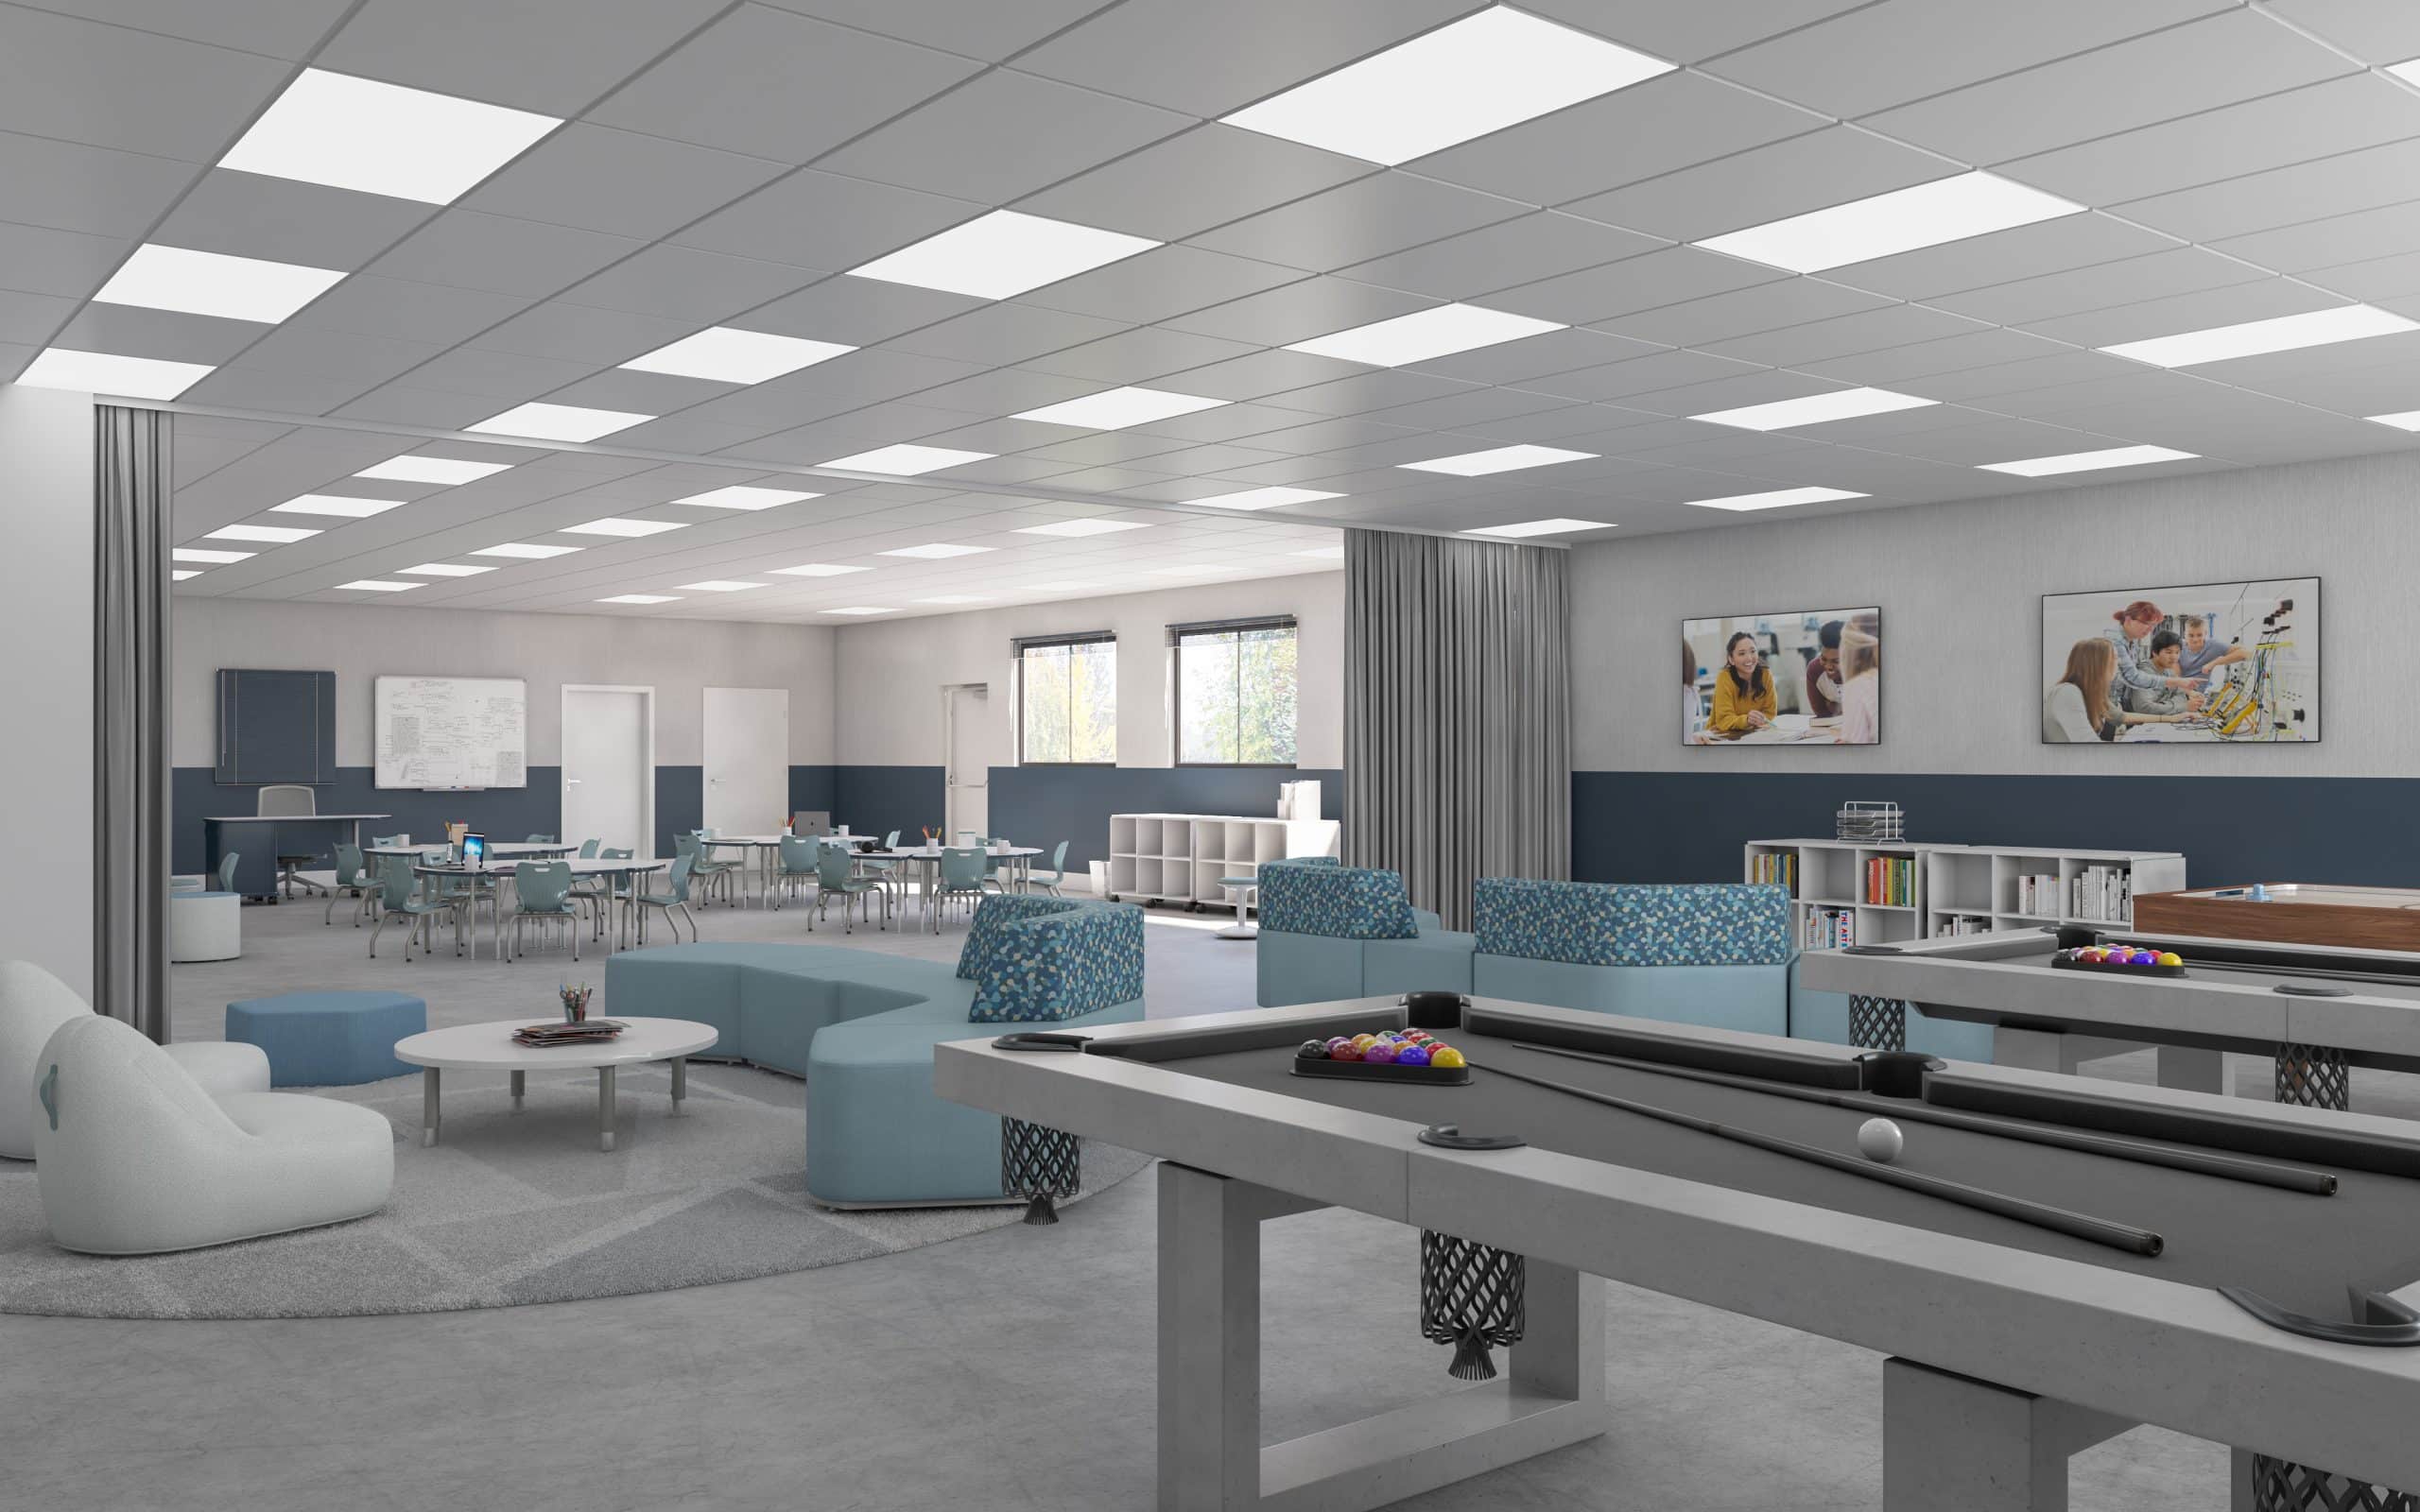
Before diving into the process, let’s first define what 3D interior rendering is. It is the process of creating computer-generated images of interior spaces, showcasing architectural and design elements such as furniture, lighting, textures, and materials. These renderings provide clients and stakeholders with a realistic view of what the final space will look like before construction begins.
Why is 3D Interior Rendering Important?
For architects, interior designers, home developers, and realtors, 3D interior rendering is not just a visualization tool—it’s a game changer. Here’s why:
1. Enhanced Client Communication and Approval
One of the biggest challenges in design and development is ensuring that all stakeholders share the same vision. A 3D interior rendering bridges the gap between technical blueprints and a client’s imagination, allowing them to see the final space in high detail. This makes approval processes smoother and reduces the chances of miscommunication.
2. More Effective Design Decisions
With 3D visualization, architects and designers can experiment with different materials, colors, layouts, and lighting before finalizing a design. This flexibility helps make informed decisions and prevents costly revisions during the construction phase.
3. Stronger Marketing and Sales Impact
For home developers and realtors, high-quality 3D interior renderings are a powerful sales tool. Instead of relying solely on floor plans or sketches, potential buyers can experience a visually rich preview of their future home or office space. This increases engagement and helps drive sales by creating an emotional connection with the property.
4. Time and Cost Savings
Revisions and errors in construction can be expensive. By addressing design issues before physical work begins, 3D rendering helps save both time and money. Whether it’s fine-tuning aesthetics or catching layout inefficiencies, digital previews minimize costly on-site modifications.
5. Competitive Advantage in the Industry
In a highly competitive market, standing out is crucial. Firms that utilize photorealistic 3D renderings present their projects with a level of professionalism and detail that attracts clients and investors. A well-executed rendering sets you apart from competitors who still rely on traditional 2D sketches or basic visualizations.
6. Better Lighting and Material Representation
Lighting and materials play a crucial role in the ambiance of an interior space. With 3D rendering, designers can experiment with different lighting scenarios—daylight, artificial lighting, and shadows—to achieve the most aesthetically pleasing and functional outcome. This ensures that the final build matches the intended design.
7. Seamless Integration with Other Technologies
Modern 3D rendering seamlessly integrates with CAD, BIM, and VR/AR technologies, making collaboration across different fields easier. Architects can align their designs with engineers, while developers can integrate virtual tours to enhance client experiences.
Ultimately, 3D interior rendering is more than just an aesthetic tool—it’s a critical component of efficient design, effective communication, and successful project execution.
For those already familiar with 3D visualization, you might also be interested in learning about 3D architectural animation, which takes rendering to the next level by creating dynamic, moving visualizations of projects. You can read more about it in our article: “What is 3D Architectural Animation?”.

Planning Your 3D Interior Rendering
A well-planned project sets the foundation for a successful 3D interior rendering. Before opening your 3D software, take time to organize and gather all the necessary information.
Key Steps in Planning
- Define the Purpose of the Rendering
- Are you creating the render for a client presentation, marketing, or personal portfolio?
- Will the rendering focus on residential, commercial, or industrial interiors?
- Gather Reference Materials
- Collect images, inspiration boards, and real-world textures.
- Study different styles and trends that fit the project.
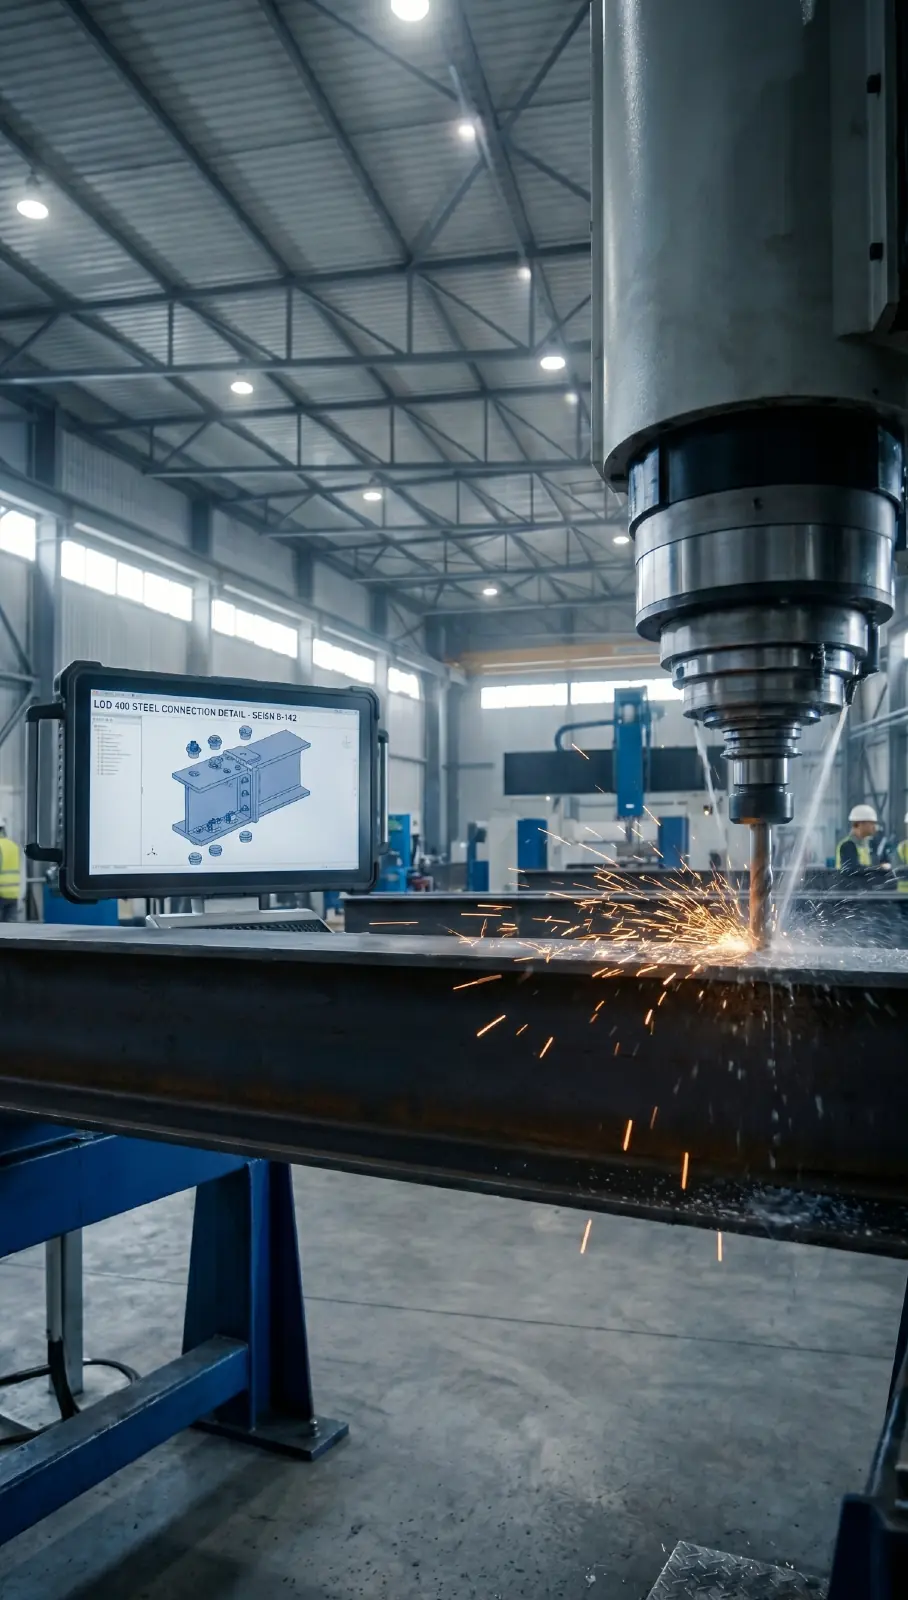
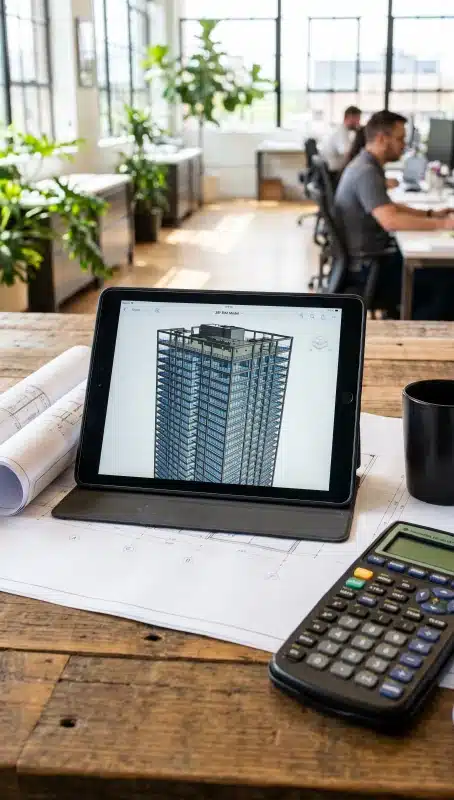
- Obtain Technical Drawings
- CAD files, blueprints, and sketches provide accurate dimensions.
- If working without blueprints, use precise measurements to ensure realism.
- Choose the Right Software
- Popular choices include 3ds Max, Blender, SketchUp, Revit, and Lumion.
- Select software based on complexity, rendering speed, and final output quality.
By thoroughly planning your project, you can avoid costly mistakes and streamline the workflow.
Setting Up Your 3D Scene
Before diving into modeling, it is essential to set up the 3D workspace correctly. This step ensures that the rendering process remains realistic, proportionate, and structurally sound. Without a properly configured scene, even the most detailed models and textures may look unconvincing.
Steps to Set Up the Scene
1. Import or Create a Floor Plan
A well-structured floor plan is the foundation of any interior rendering. There are two primary ways to achieve this:
- Import a CAD File: If available, a pre-existing CAD file or a 2D floor plan should be imported into the 3D software to maintain accuracy and scale.
- Manually Create the Structure: If no CAD file exists, manually drawing walls, floors, and ceilings within your software ensures a precise layout. Tools like SketchUp, Revit, or AutoCAD provide excellent control over dimensions.
2. Define Room Boundaries
Once the floor plan is in place, it’s time to define walls, floors, and ceilings. These elements act as the structural core of the interior. Be sure to:
- Maintain precise measurements to match real-world dimensions.
- Align elements correctly to avoid errors when applying materials later.
- Use layers or groups within the 3D software to keep your workspace organized.
A well-defined boundary helps ensure seamless material application and a smooth rendering process.
3. Set the Scale and Proportions
Scale and proportion are essential for achieving photorealistic results. To ensure accuracy:
- Use measurement tools within your 3D software to match real-world dimensions.
- Verify height and depth proportions for all elements, from ceilings to furniture.
- Check for symmetry and alignment to avoid distortions in the final render.
A properly structured scene provides a strong foundation for realistic modeling and helps avoid time-consuming adjustments later.
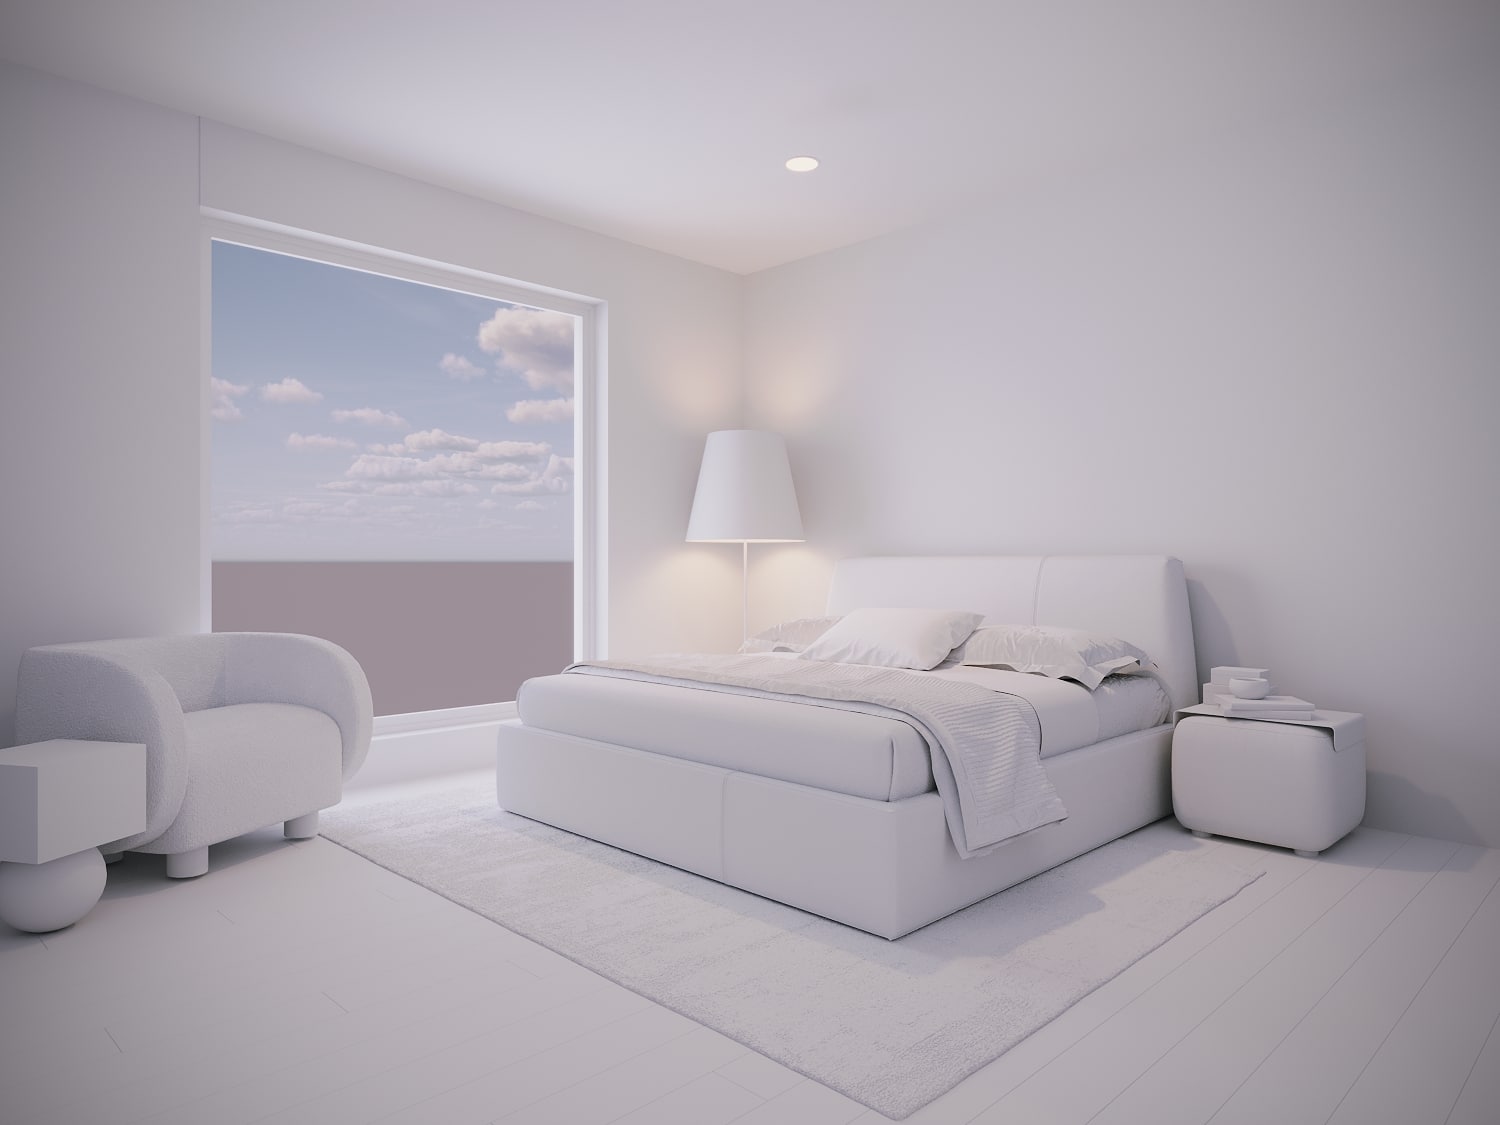
3D Modeling: Creating the Interior Structure
Once the scene is set up, the next step is 3D modeling, where you construct the physical elements of the space. This stage defines the architectural structure and interior components that will be rendered.
Key Aspects of 3D Modeling
1. Architectural Components
To ensure the realism of your interior rendering, accurately model these elements:
- Walls, doors, and windows – Maintain correct thickness and positioning to reflect real-world construction.
- Floors and ceilings – Choose materials and patterns that align with the intended aesthetic.
- Custom architectural details – Elements such as arches, decorative moldings, and columns add sophistication.
2. Furniture and Fixtures
To bring life to your scene, strategically place furniture and decorative items:
- Sofas, tables, and chairs – Ensure proper scaling relative to the room.
- Cabinetry and built-in storage – Model detailed millwork for realism.
- Decor items – Books, vases, and textiles enhance visual interest.
3. Structural Accuracy
Modeling should maintain structural integrity to avoid unrealistic elements:
- Doors and windows should be properly placed with accurate heights and widths.
- No intersecting geometry – Overlapping surfaces can create errors in rendering.
- Optimization – Use clean topology to prevent unnecessary polygon complexity.
A well-modeled scene ensures the rendering appears professional and realistic.
Lighting Your 3D Interior Rendering
Lighting is one of the most crucial elements in 3D rendering. It influences depth, shadows, and realism, turning a basic model into a visually compelling scene.
Types of Lighting to Use
1. Natural Lighting
Simulating natural light enhances realism and warmth. The best practices for natural light include:
- Placing sunlight sources strategically to mimic window placements.
- Adjusting time of day settings to achieve different lighting moods.
- Using soft shadows for a more organic look.
2. Artificial Lighting
Artificial lighting allows designers to create mood and ambiance. Different light sources include:
- Overhead lighting (chandeliers, recessed lights).
- Accent lighting (spotlights, track lights).
- Task lighting (desk lamps, under-cabinet lights).
Selecting the right bulbs is just as important as choosing the placement of light sources. With energy-efficient technologies becoming more common, it is essential to make the right lighting choices to balance energy savings and aesthetics. To explore the best lighting options for different home styles, check out this detailed article from the National Association of REALTORS®: “Getting the Right Light”.
3. Soft Shadows and Reflections
Lighting should interact naturally with surfaces. Soft shadows prevent harsh edges and reflections can enhance realism, especially for materials like polished floors and glass.
A well-thought-out lighting setup dramatically improves the realism of your 3D render, making it more immersive and professional.
Texturing Your 3D Interior Rendering
After modeling, the next step is texturing, which adds realism by applying materials to surfaces.
How to Apply Textures Correctly
1. Use High-Resolution Textures
For photorealistic results, always use high-resolution textures that closely match real-world materials. Poor-quality textures can make an otherwise stunning rendering appear artificial.
2. Adjust Bump, Reflection, and Displacement Maps
Material realism is not just about color—it also involves depth and light interaction. To achieve realism:
- Bump maps create subtle surface details.
- Reflection maps control how light bounces off materials like glass and metal.
- Displacement maps add depth to materials like bricks or tiles, creating a more dynamic look.
3. Apply Real-World Scale Mapping
Textures should be proportional to real-world sizes to avoid stretched or pixelated appearances. Always adjust UV mapping settings to ensure materials look natural.
Textures are key to achieving photorealism, so take your time perfecting this step.
Rendering and Post-Processing
Once your scene is complete, you must render the final image. This step transforms your 3D model into a high-quality visualization.
Steps for a Perfect Render
- Choose a High-Resolution Output
- For professional results, render at 4K resolution or higher.
- Optimize Render Settings
- Adjust ray tracing, anti-aliasing, and global illumination to enhance realism.
- Use GPU or Cloud-Based Rendering
- Rendering on powerful GPUs or cloud platforms speeds up processing time.
Post-Processing for a Final Touch
Even after rendering, additional enhancements in Photoshop or Lightroom can improve:
- Brightness and contrast adjustments.
- Color grading for a balanced, vibrant look.
- Sharpness and reflections for added detail.
A polished render is what sets apart amateur designs from professional-quality work.
Benefits of Using a 3D Rendering Agency to Create Your 3D Interior Renderings
While mastering 3D rendering yourself can be rewarding, working with a professional 3D rendering agency like Xpress Rendering comes with many advantages. Here’s why outsourcing your renderings can be a game-changer:
- Unparalleled Quality – Professional agencies have experienced artists who specialize in photorealistic renderings, ensuring your visuals stand out with stunning detail and accuracy.
- Access to Cutting-Edge Technology – Agencies invest in high-end rendering software, hardware, and plugins that significantly enhance the quality of the final output.
- Faster Turnaround Times – With dedicated teams and efficient workflows, rendering agencies can deliver high-quality visuals much faster than in-house efforts.
- Cost Efficiency – Hiring an agency eliminates the need to purchase expensive software, invest in powerful computers, or hire a full-time rendering expert.
- Consistent Branding & Style – Working with an agency ensures that all your visual content maintains a cohesive and professional look that aligns with your brand.
- Custom Solutions for Your Needs – Agencies tailor their services to your specific project, whether you need a single render, an animation, or a full VR walkthrough.
By leveraging a 3D rendering agency, you can focus on your core business while ensuring your presentations and marketing materials remain top-notch.
How to Save Time and Resources with Xpress Rendering?
Time is a critical resource, and working with Xpress Rendering can significantly streamline your workflow. Here’s how:
- Quick Project Turnaround – Our team efficiently processes your project, delivering high-quality renderings faster than traditional in-house methods.
- Hassle-Free Revisions – Need changes? We provide smooth revision cycles to ensure the final render meets your exact requirements.
- No Need for Costly Software or Training – Skip the steep learning curve and software expenses. Our experts handle everything for you.
- Dedicated Customer Support – Our team works closely with you to ensure seamless communication and project execution.
- Scalable Services – Whether you need a single render or an entire portfolio of images, we scale our services to fit your project needs.
- Focus on Your Core Business – Instead of spending hours tweaking models and adjusting lighting, let us handle the rendering while you concentrate on designing, developing, and selling.
Choosing Xpress Rendering means getting stunning results without the hassle, ensuring you always have high-quality visuals to showcase your work effectively.
Looking for high-quality 3D interior rendering services? Get a personalized quote here and transform your design ideas into reality!
Creating a 3D interior rendering involves meticulous attention to detail, technical expertise, and an artistic eye. While the DIY approach can be rewarding, working with a 3D rendering agency like Xpress Rendering ensures you receive professional-grade results while saving time and resources.