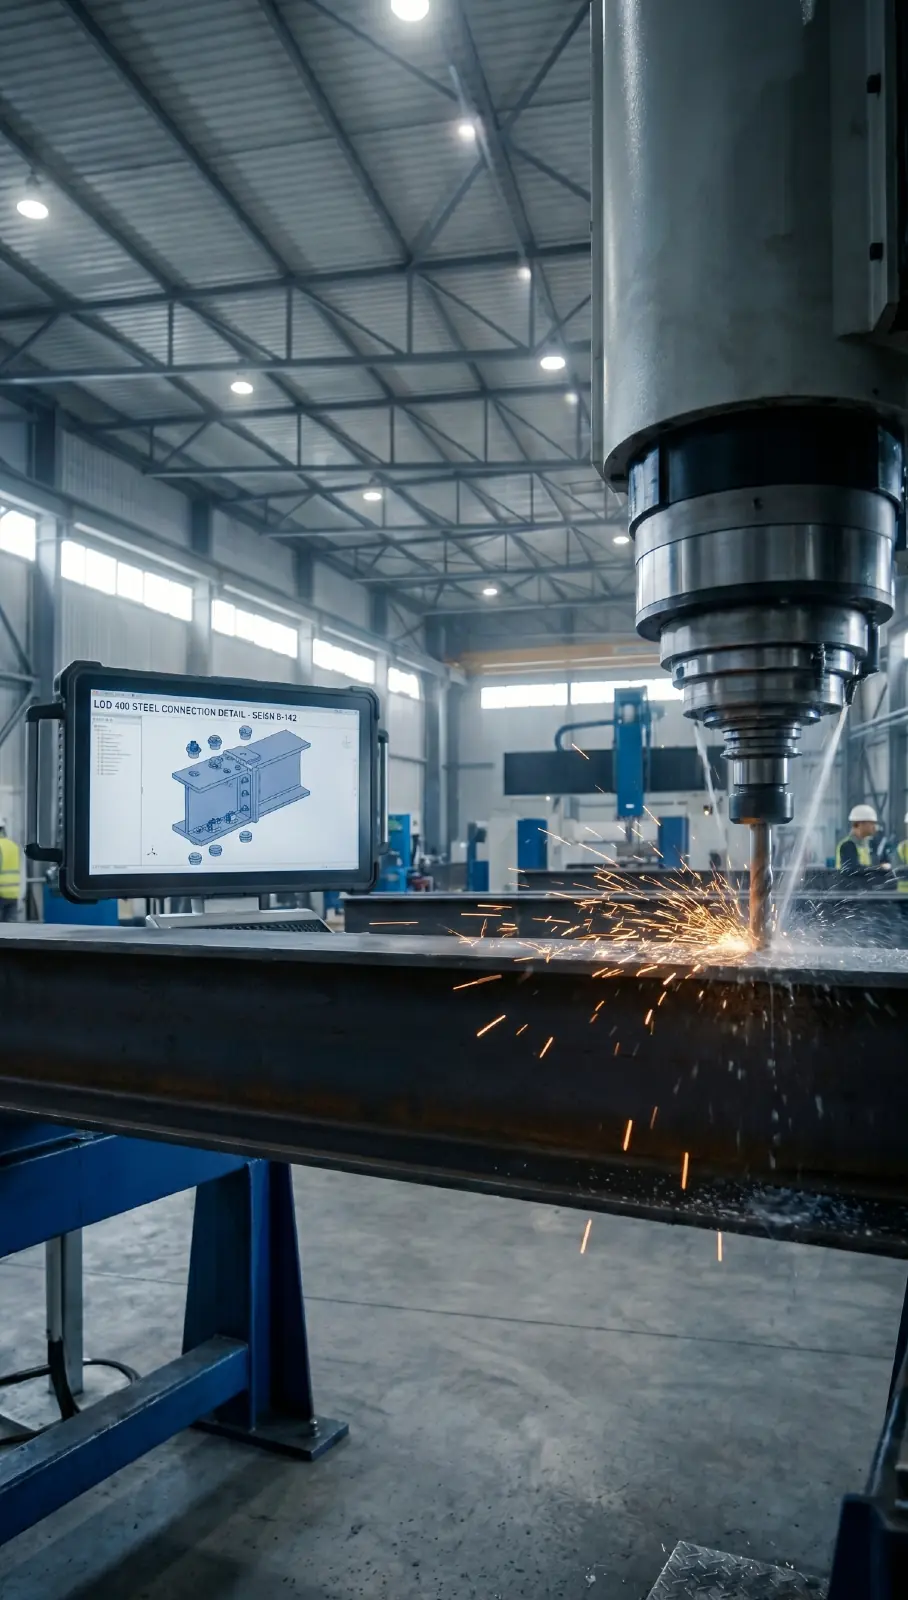
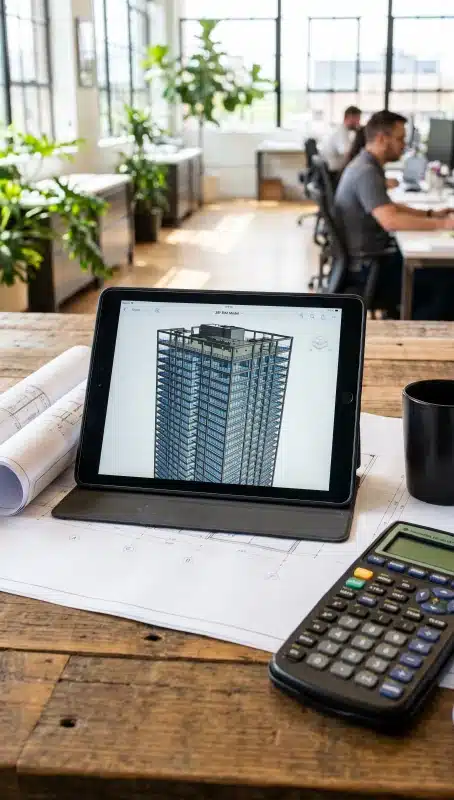
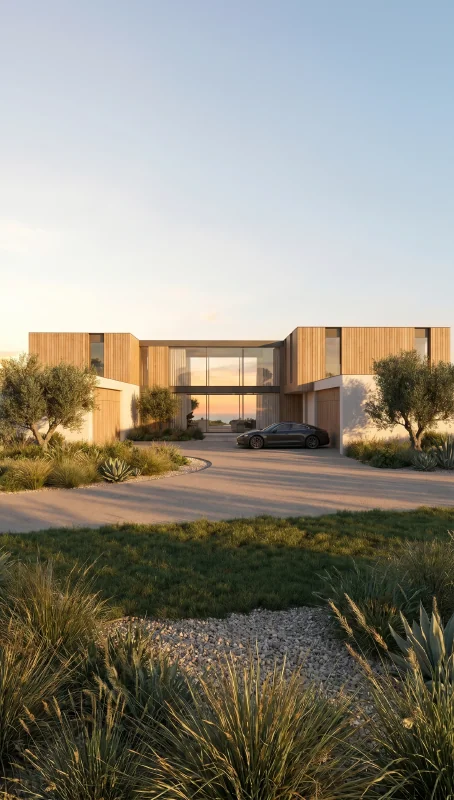
In the world of architectural visualization, every detail matters including the DPI for architectural renderings. From textures to lighting, every pixel counts when you’re showcasing your designs. But when it comes to DPI (dots per inch), what’s the right balance between high-quality output and realistic rendering times? As architects, interior designers, home developers, or realtors, we want crisp images, but we also don’t want to spend ages rendering them. At Xpress Rendering, we provide 3D rendering, video animations, and a range of architectural services like CAD, BIM, floorplans, and site plans, so it’s essential to optimize the use of DPI for Architectural Renderings, without going overboard. Let’s dive into how you can achieve just that.
What is DPI, and Why Does It Matter in Architectural Renders?
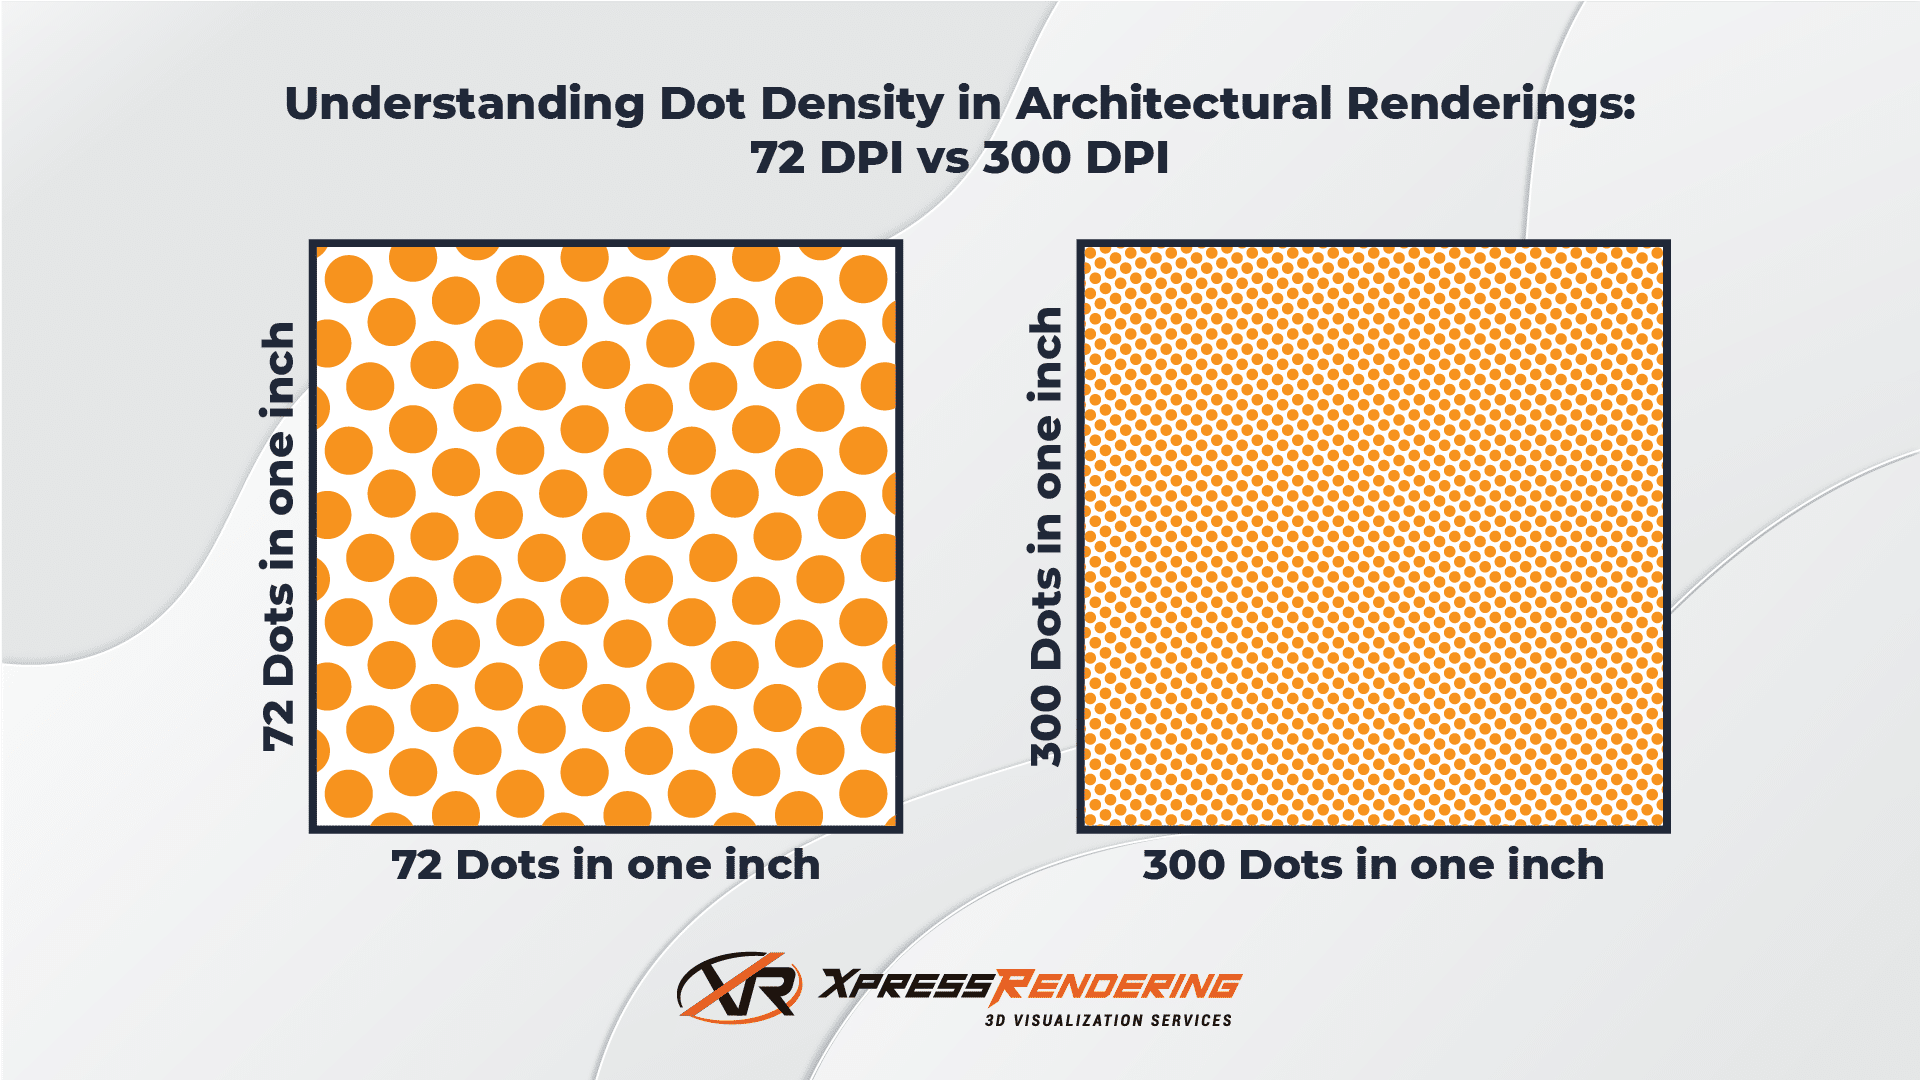
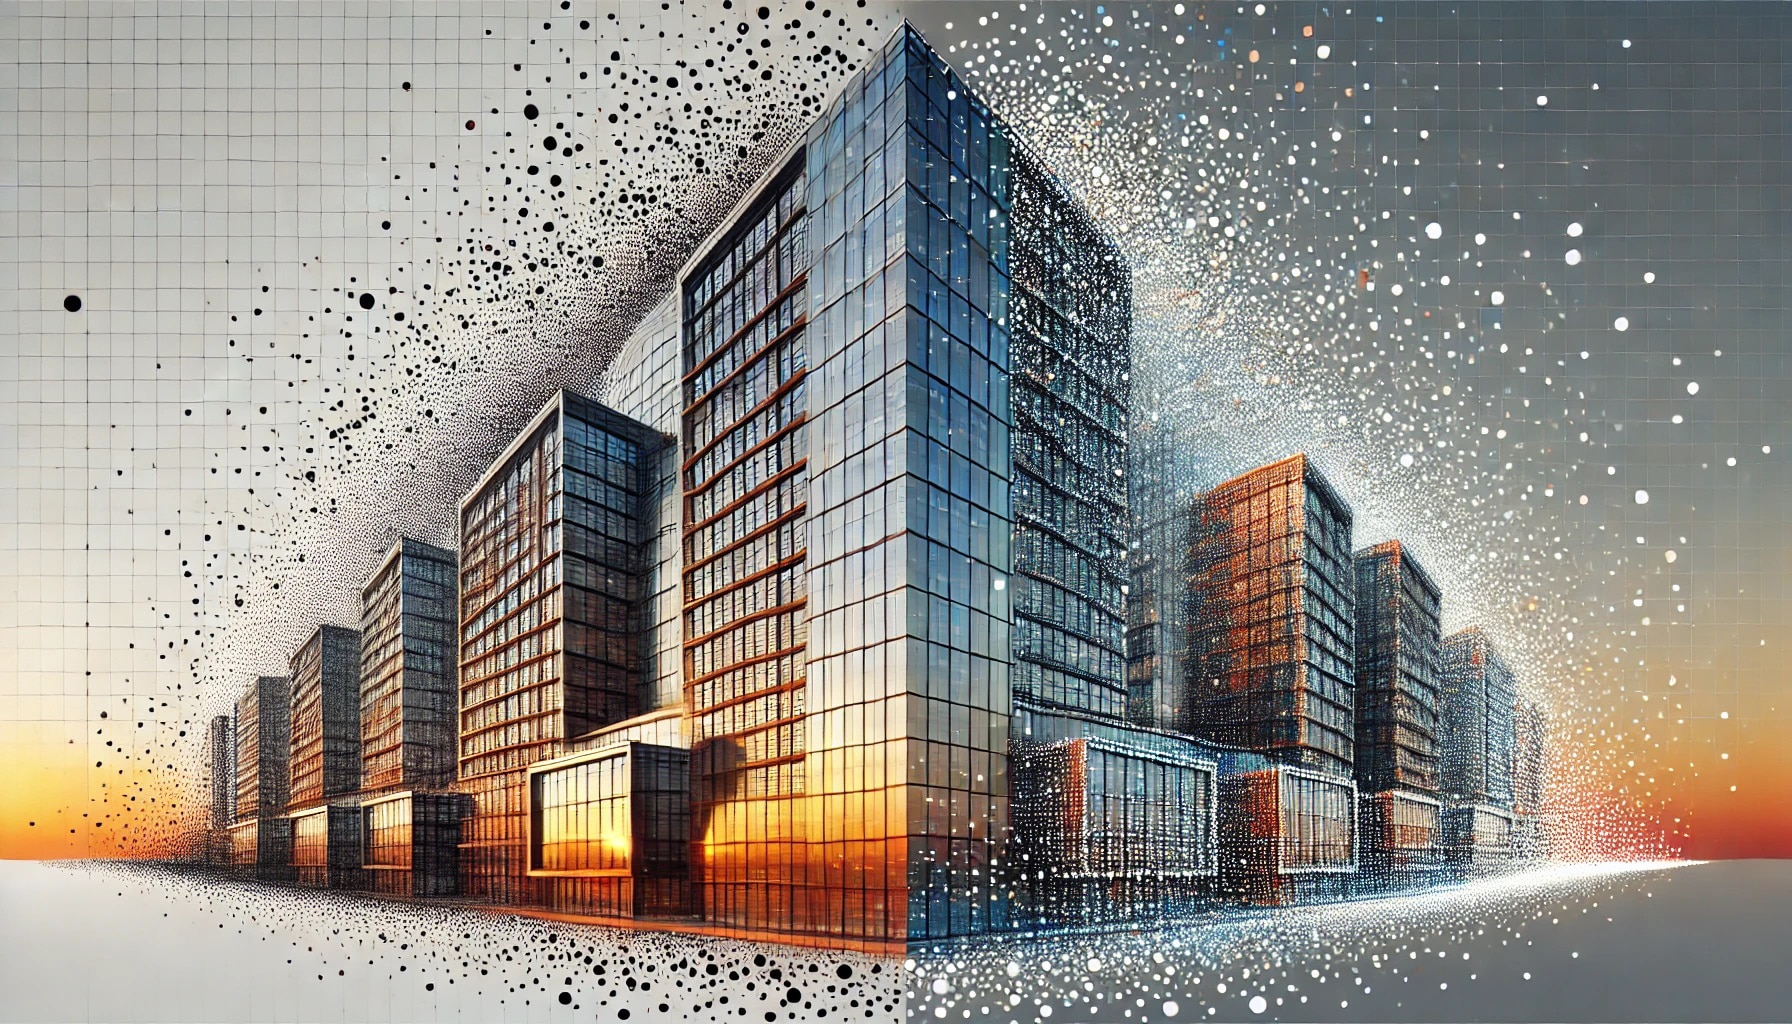
DPI, or dots per inch, measures how many dots of color (or pixels) are displayed per inch of your image. While this term is typically associated with print media, it still impacts the clarity of architectural renderings, especially when presenting high-resolution images. The higher the DPI, the sharper the image looks, but there’s a catch—higher DPI also means longer rendering times, increased computational load, and potentially diminishing returns.
For example, a 300 DPI image is considered high-quality for prints. However, when rendering images for online viewing, such as in your portfolio or a client’s presentation, 72 DPI is typically sufficient. The key is to know when to prioritize quality and when to streamline your workflow.
Understanding When to Use Higher DPI for Architectural Renderings
The type of project you’re working on will dictate how much DPI is necessary. Let’s break it down:
- Print Media (Brochures, Posters, Large Format Prints): For larger prints, such as A1 or A0 architectural posters, a higher DPI (300 or more) is essential to maintain sharpness. This is because viewers might stand close to the print and notice the fine details.
- Digital Media (Web, Social Media, Presentations): For renderings intended for digital display, 72 DPI is perfectly adequate. Digital screens measure resolution in pixels rather than dots per inch, so increasing DPI for digital use won’t improve the image quality but will significantly increase file size and render times.
Rendering Resolution vs. DPI: What’s More Important?
There’s often confusion between DPI and resolution. While DPI measures dots per inch, resolution refers to the number of pixels (e.g., 1920×1080). Both impact the clarity of your render, but resolution often plays a more significant role in determining the final quality of an image, especially for online content.
A high resolution with the right DPI can create stunning visuals that capture every intricate detail. For example, Xpress Rendering team generally delivers renders at 3000×1500 pixels with 72 DPI, which provides excellent quality for most digital uses and screens. Of course, we always adapt to our clients’ needs by configuring the render package based on the required resolution and DPI. Whether you need high-resolution images for large-format prints or optimized renders for online viewing, we customize every aspect to fit your specific project requirements.
How to Choose the Right DPI for Your Render
When optimizing DPI for architectural renderings, consider these factors:
- Purpose of the Render – Is it for print or digital use? For print, aim for at least 300 DPI. For digital, stick to 72 DPI to avoid unnecessary rendering times.
- Scene Complexity – More complex scenes with reflective surfaces, foliage, or intricate textures will require longer render times at higher DPI. Streamline the process by lowering the DPI or simplifying distant or less important elements.
- Hardware Capacity – Your machine’s capacity is a limiting factor. Don’t overburden your system with excessive DPI settings that your hardware can’t handle efficiently.
- Post-Processing – Don’t forget the power of post-production! A lower DPI can often be adjusted in programs like Photoshop to enhance sharpness, contrast, and overall impact without requiring a long rendering process.
Practical Tips for Faster Render Times
Now, let’s get practical. While DPI is one factor in render quality, optimizing your entire workflow can save you hours. Here are a few tips:
- Simplify the Scene: Remove unnecessary objects or textures that are far away or irrelevant to the main composition.
- Use Multiple Threads: If you need your computer for other tasks during rendering, consider disabling a couple of threads under Task Manager.
- Set a Time Limit: For daily renders, limit the render time to 30 minutes. For final renders, try to stick to overnight sessions of 8–16 hours.
Conclusion: High DPI for Architectural Renderings Isn’t Always the Answer
In architectural rendering, high DPI isn’t always the most important factor. A well-optimized workflow that balances DPI, resolution, and render time is more crucial than pushing for excessively high settings. Remember, a crisp image with high content quality will always beat an unnecessarily high DPI render that took days to complete.
Before you go, if you’re looking to take your exterior renderings to the next level, check out our article on 5 Tips to Improve Exterior Renderings. It’s packed with actionable insights to help you enhance your visualizations.
At Xpress Rendering, we specialize in making your architectural dreams come to life with our 3D renderings, video animations, CAD services, and more. Ready to optimize your next project? Contact us today or follow us on Instagram, Facebook, and LinkedIn for more tips and inspiration.